These days, many companies are developing on the .Net platform with Visual Studio. What some don’t realize is that they can also do test management with AzureDevOps (formerly Team Foundation Server) and Azure Test Plans (also called Test Hub). With both of these, they can manage the entire testing life cycle seamlessly including task assignment> test case design > manual and automated test execution >results tracking. This blog gives a brief introduction on how to do test management with Azure DevOps and VS, integrating and including both manual test activities and automation test activities.
In this blog, we use Visual Studio 2019 for our examples combined with Azure DevOps, a powerful tool that provides development services for support teams to plan work, collaborate on code development, and build and deploy applications. For setting up Azure DevOps and Visual Studio, please see MSFT online.
Let’s look at the overall process of testing activities in light of these tools and explain them one by one:
- Create backlog items (in Azure Boards)
- Assign items (in Azure Boards)
- Design test cases (in Azure Boards)
- Associate automation script (in Azure Repos)
- Create test plan (in Azure Test plans)
- Execute test cases (in Azure Test Plans or Boards)
- Check results (in Azure Test Plans)
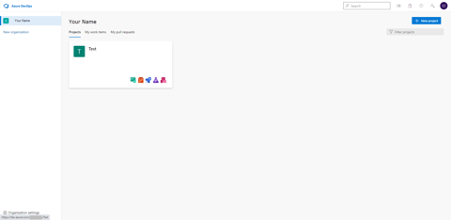
Main Screen for Azure DevOps
For our example, assume we already have created a project “Test” in Azure DevOps. Then, Azure DevOps web access is shown in the following screenshot.
1.Create backlog items
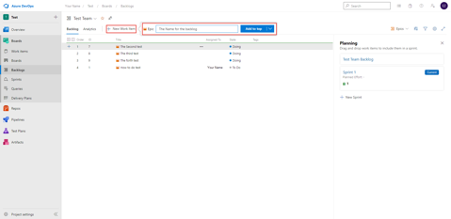
In an Agile project, we first need to create the Backlog items. Backlog items are all the things that we are going to do in the project.
By simply clicking “+ New Work Item” button, you can create a backlog item.
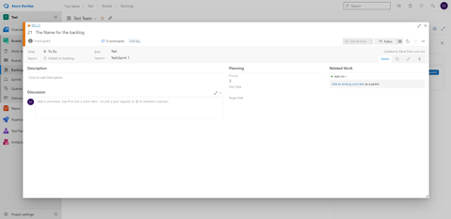
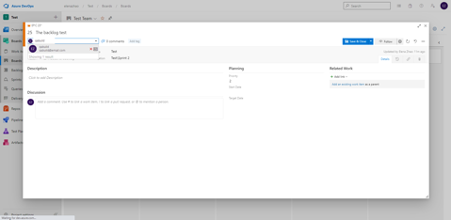
By clicking on the Backlog item you just created, you can edit this Backlog item.
2. Assign items
Now we need to assign this backlog item to a person responsible for completing it.
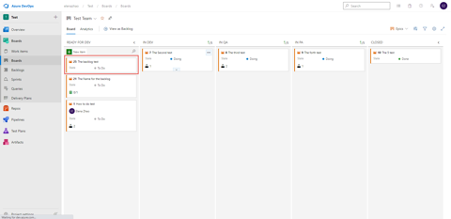
Go to the “board” page under Work and you will see the backlog item is in “To Do” status.
Click on the item. Fill in the necessary information. Let’s assign the task to a tester named “qabuild”.
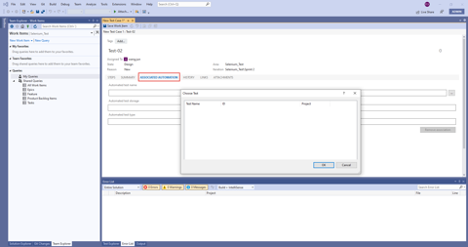
3. Design test cases
This step can be done both in Azure DevOps and VS, but it will be a lot easier to design test cases in Azure DevOps since VS doesn’t support you to design test steps.
a. In Azure DevOps:
To create a test case in Azure DevOps, click Boards > right-click on one item > Add Test. Then complete the test case steps and expected results.

And this case is linked to the work item.
b. In VS:
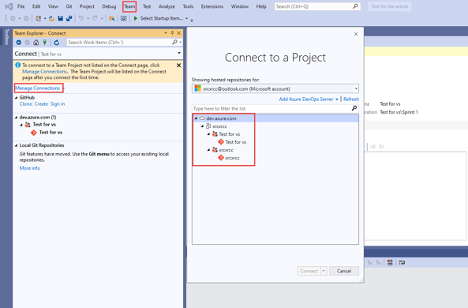
To create a test case in Visual Studio, with the assigned user, first you need to connect to the project from Azure DevOps, click Team > manage connections > select the correct project.
Then click “Work Items” under Team Explorer Home. Click “New Work Item” and select an item type. Configure the title and assign a user for this item.
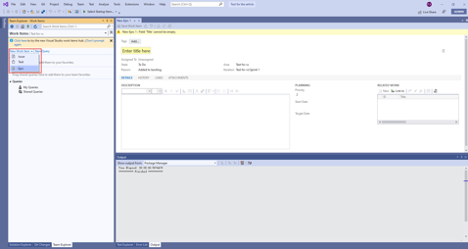
The newly created work item will be in the Queries.
You can create a test case for this work item by clicking “New” under “Link” button, select Link Type as Test Case.
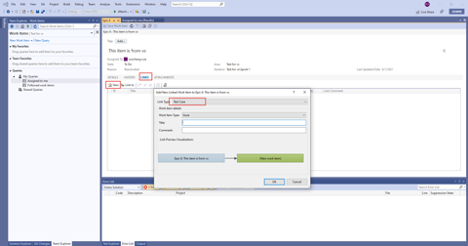
But you can not add any step to this test case since this is still a work item. But you can click Web Portal to open Azure DevOps to create test cases.
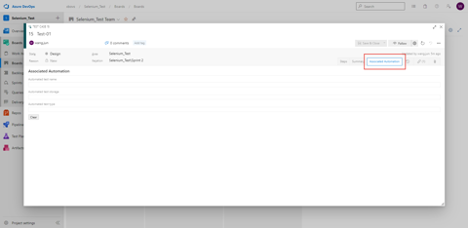
4. Associate automation script
With Azure DevOps and VS, you basically can use any language like Python, Java and C#, and test automation tools like Coded UI and Selenium are also supported.
Here we use a selenium script for a test case as an example and you can associate these automated scripts with a test case.
Please note:
a. This can be done in Visual Studio
b. This can also be done in Azure DevOps
5. Create test plan
Up to this point, we have created test cases and associated automation scripts. Now, we need to create a test plan to execute the test cases.
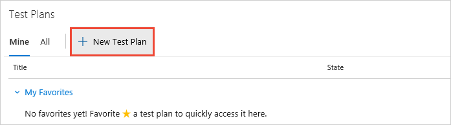
In the following screenshot, we’ve created a “The third test” test plan, and added 2 test cases into it.

You can also create a test plan and a test suite automatically when you create a test from a work item in Azure Boards or Azure DevOps Server
6. Execute test cases
It’s time to execute the cases in the test plan.
Go to Test Plan tab in Azure DevOps. Make sure you are on the correct test plan, then you can select the cases you want to run and choose Run test.
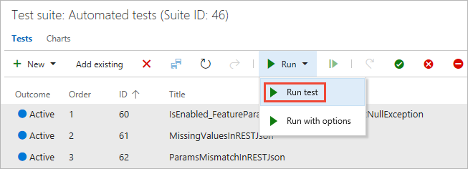
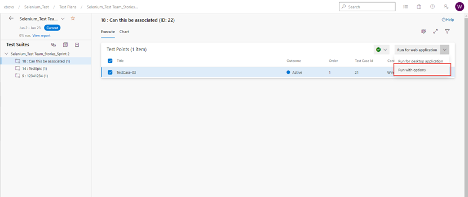
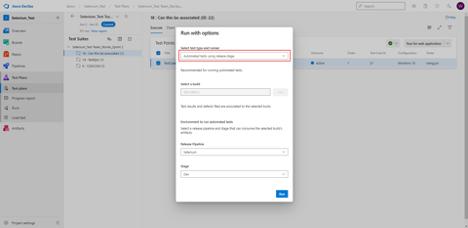
If the test case you want to run is associated with an automation script, right-click the case, then select “Run with options”.
You are able to select on which build and environment you want to run the case.
You can view the test run result by clicking on “View test run”.
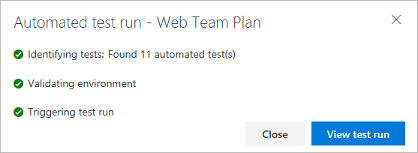
It will invoke the associated automation scripts, and execute.
7. Check result
After case execution, go to Chart to check the results.
You can view the test run result by clicking one of the test runs you just executed.
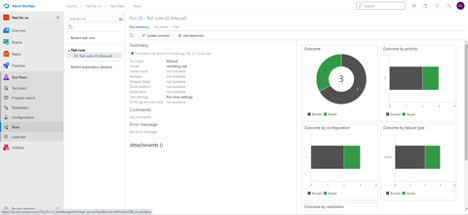
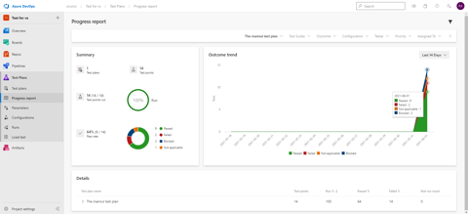
You can also view the Test plan progress.
It seems like a long process, but actually, by keeping all the information (requirements, test cases, automation scripts, and results) integrated into one tool it becomes a powerful asset in tracking your results. In the end this data can be analyzed to help you improve your testing process. More on that later…
Thanks for the blog. The new age test management tools like QARA Enterprise and Katalon Studio are designed for complete test management.